

It’s happened to all of us.
You’re half way through playing your favourite song and… SNAP!
You break one of your guitar strings and it needs replacing.
Changing your guitar strings is a relatively simple job that every guitarist should know how to do.
In this article I will explain how to switch out your old guitar strings with new guitar strings quickly and effectively.
Improve your guitar playing by downloading a copy of my Free Guitar Practice Routine Checklist and Planning Guide.
Table Of Contents
- When To Change Your Guitar Strings
- Why Guitar Strings Break
- How To Make Guitar Strings Last Longer
- Which Guitar Strings To Choose
- Tools
- Steps For Changing Your Guitar Strings
When To Change Guitar Strings
When to change your guitar strings is usually a matter of choice unless of course you have a broken string.
Another common reason to change your guitar strings is if they have gotten dirty to the point where they are sounding very dull or are having trouble staying in tune.
If you are going to be doing any recording with your guitar you might want to replace your old strings with new ones to give the guitar a nice fresh sound.
Why Guitar Strings Break
There are many reasons why a guitar string might break and below are some of the reasons why this might happen:
Over-tension – If the guitar string is wound too tightly there’s a good chance it will break. Guitar strings are meant to be tuned to specific notes based on their string gauge and if they’re tightened too far past this point the risk of a string breaking is increased.
Right Hand Technique – If you are a hard strummer then tell your strings to take cover. A heavy picking technique can cause a guitar string to snap anywhere along its length.
Age of the String – If your guitar strings are getting old or have been used a lot then their risk of breaking increases. If you sweat a lot while you’re playing this finger sweat can cause the strings to rust. Dirt and wear from use will also cause the string to weaken and increase the risk of breaking.
Sharp Edges on String Contact Points – Any sharp edges where the guitar strings make contact with the guitar such as the saddles, nut or tuning heads can cause a guitar string to break.
Kinks – Any kinks in a guitar string caused from accidentally folding it or bending it while installing can cause weak points in the string. The kink can be felt as a small bump when the string has tension on it.
How To Make Guitar Strings Last Longer
You can make your guitar strings last longer by cleaning them after you practice or perform.
To clean your strings simply wipe each one down with a cloth or old cotton T-shirt by wrapping the cloth around the string and running it up and down it’s entire length.
You should see dirt or residue from the dirty string on the cloth when you are finished wiping it down.
To help prevent extra dirt and sweat from getting on the string it’s a good idea to try and get in the habit of washing your hands before you play your guitar.
Which Guitar Strings To Choose
Though string gauge and string composition might not seem like a big deal, the type of guitar strings you choose to use can have a big impact on your guitar’s playability and the way it sounds.
Guitar string gauges are measured in thousandths of an inch and can be made up of many different materials with the most popular being stainless steel, nickel, and nickel-plated steel for electric guitars, bronze and phosphor-bronze for acoustic guitars and nylon for classical guitars.
It is important to note that it’s not a good idea to use steel strings on a guitar designed for nylon strings and vice versa because a great amount of damage can be caused to the guitar itself such as neck warping and bridge damage.
Below are some tips on how to choose the right strings for your specific style of playing:
- light gauge strings such as .009s offer less resistance to picking and fretting and are easier to bend which helps with fast guitar playing
- Thicker gauge strings such as .011s are better for down-tuning, such as dropped D or tuning a half-step down, as they maintain their tension better when tuned to a lower pitch
- Round wound strings tend to be brighter and offer more sustain
- Flat wound strings tend to sound more consistent regardless of playing style and have a generally smoother sound to them
- For electric guitars, stainless steel tends to be brighter sounding, nickel tends to be warmer sounding and nickel-plated steel is usually somewhere in the middle
- For acoustic guitars, bronze tends to be brighter sounding but loses it sound quality sooner and phosphor-bronze tends to be darker sounding but maintains it’s sound quality for longer
- Coated strings should last longer but at the expense of sonic quality
Tools
To change your guitar strings in under 15 minutes you will need a short list of tools and supplies to help make the job easier and quicker.
The tools and supplies you will need are:
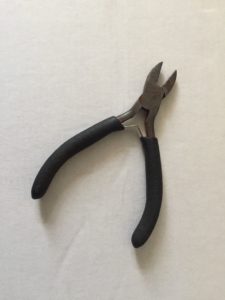
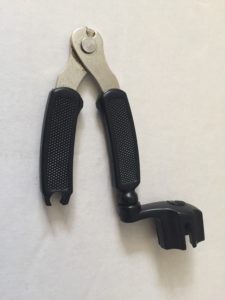
- String Cutter
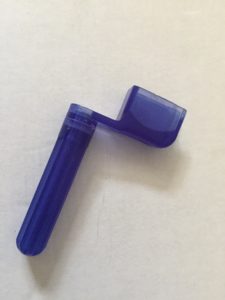
- String Winder
- Cloth

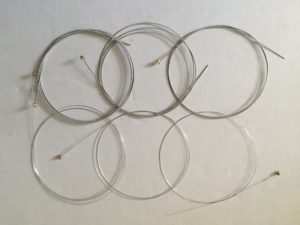
- New Strings
- Winder and Cutter multi tool (optional)
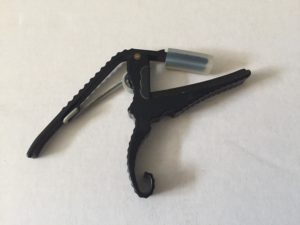
- Capo (optional)
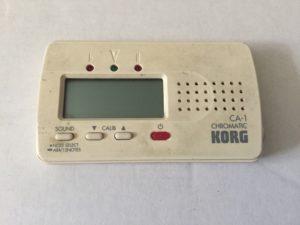
- Tuner
- Instrument Cable

Steps For Changing Your Guitar Strings
Step 1: Remove Your Old Guitar Strings
The first step is to remove all of your old guitar strings.
I think it’s important to note here that I am recommending removing all the strings at once because I believe this to be the quickest way to change all of your strings at the same time.
Because this will cause a rapid drop in tension it may have an effect on the neck of your guitar.
If this is a concern for you, you can also change the guitar strings one at a time by following the same basic steps as replacing them all at once.
A good method for replacing the strings one at a time is to do so in the following order: String 1 – String6 – String 2 – String 5 – String 3 – String 4.
This should ensure that tension on the neck is maintained as evenly as possible.
Now to continue on with changing your guitar strings in 15 minutes, first decrease the tension of each string by loosening all of the tuning heads.

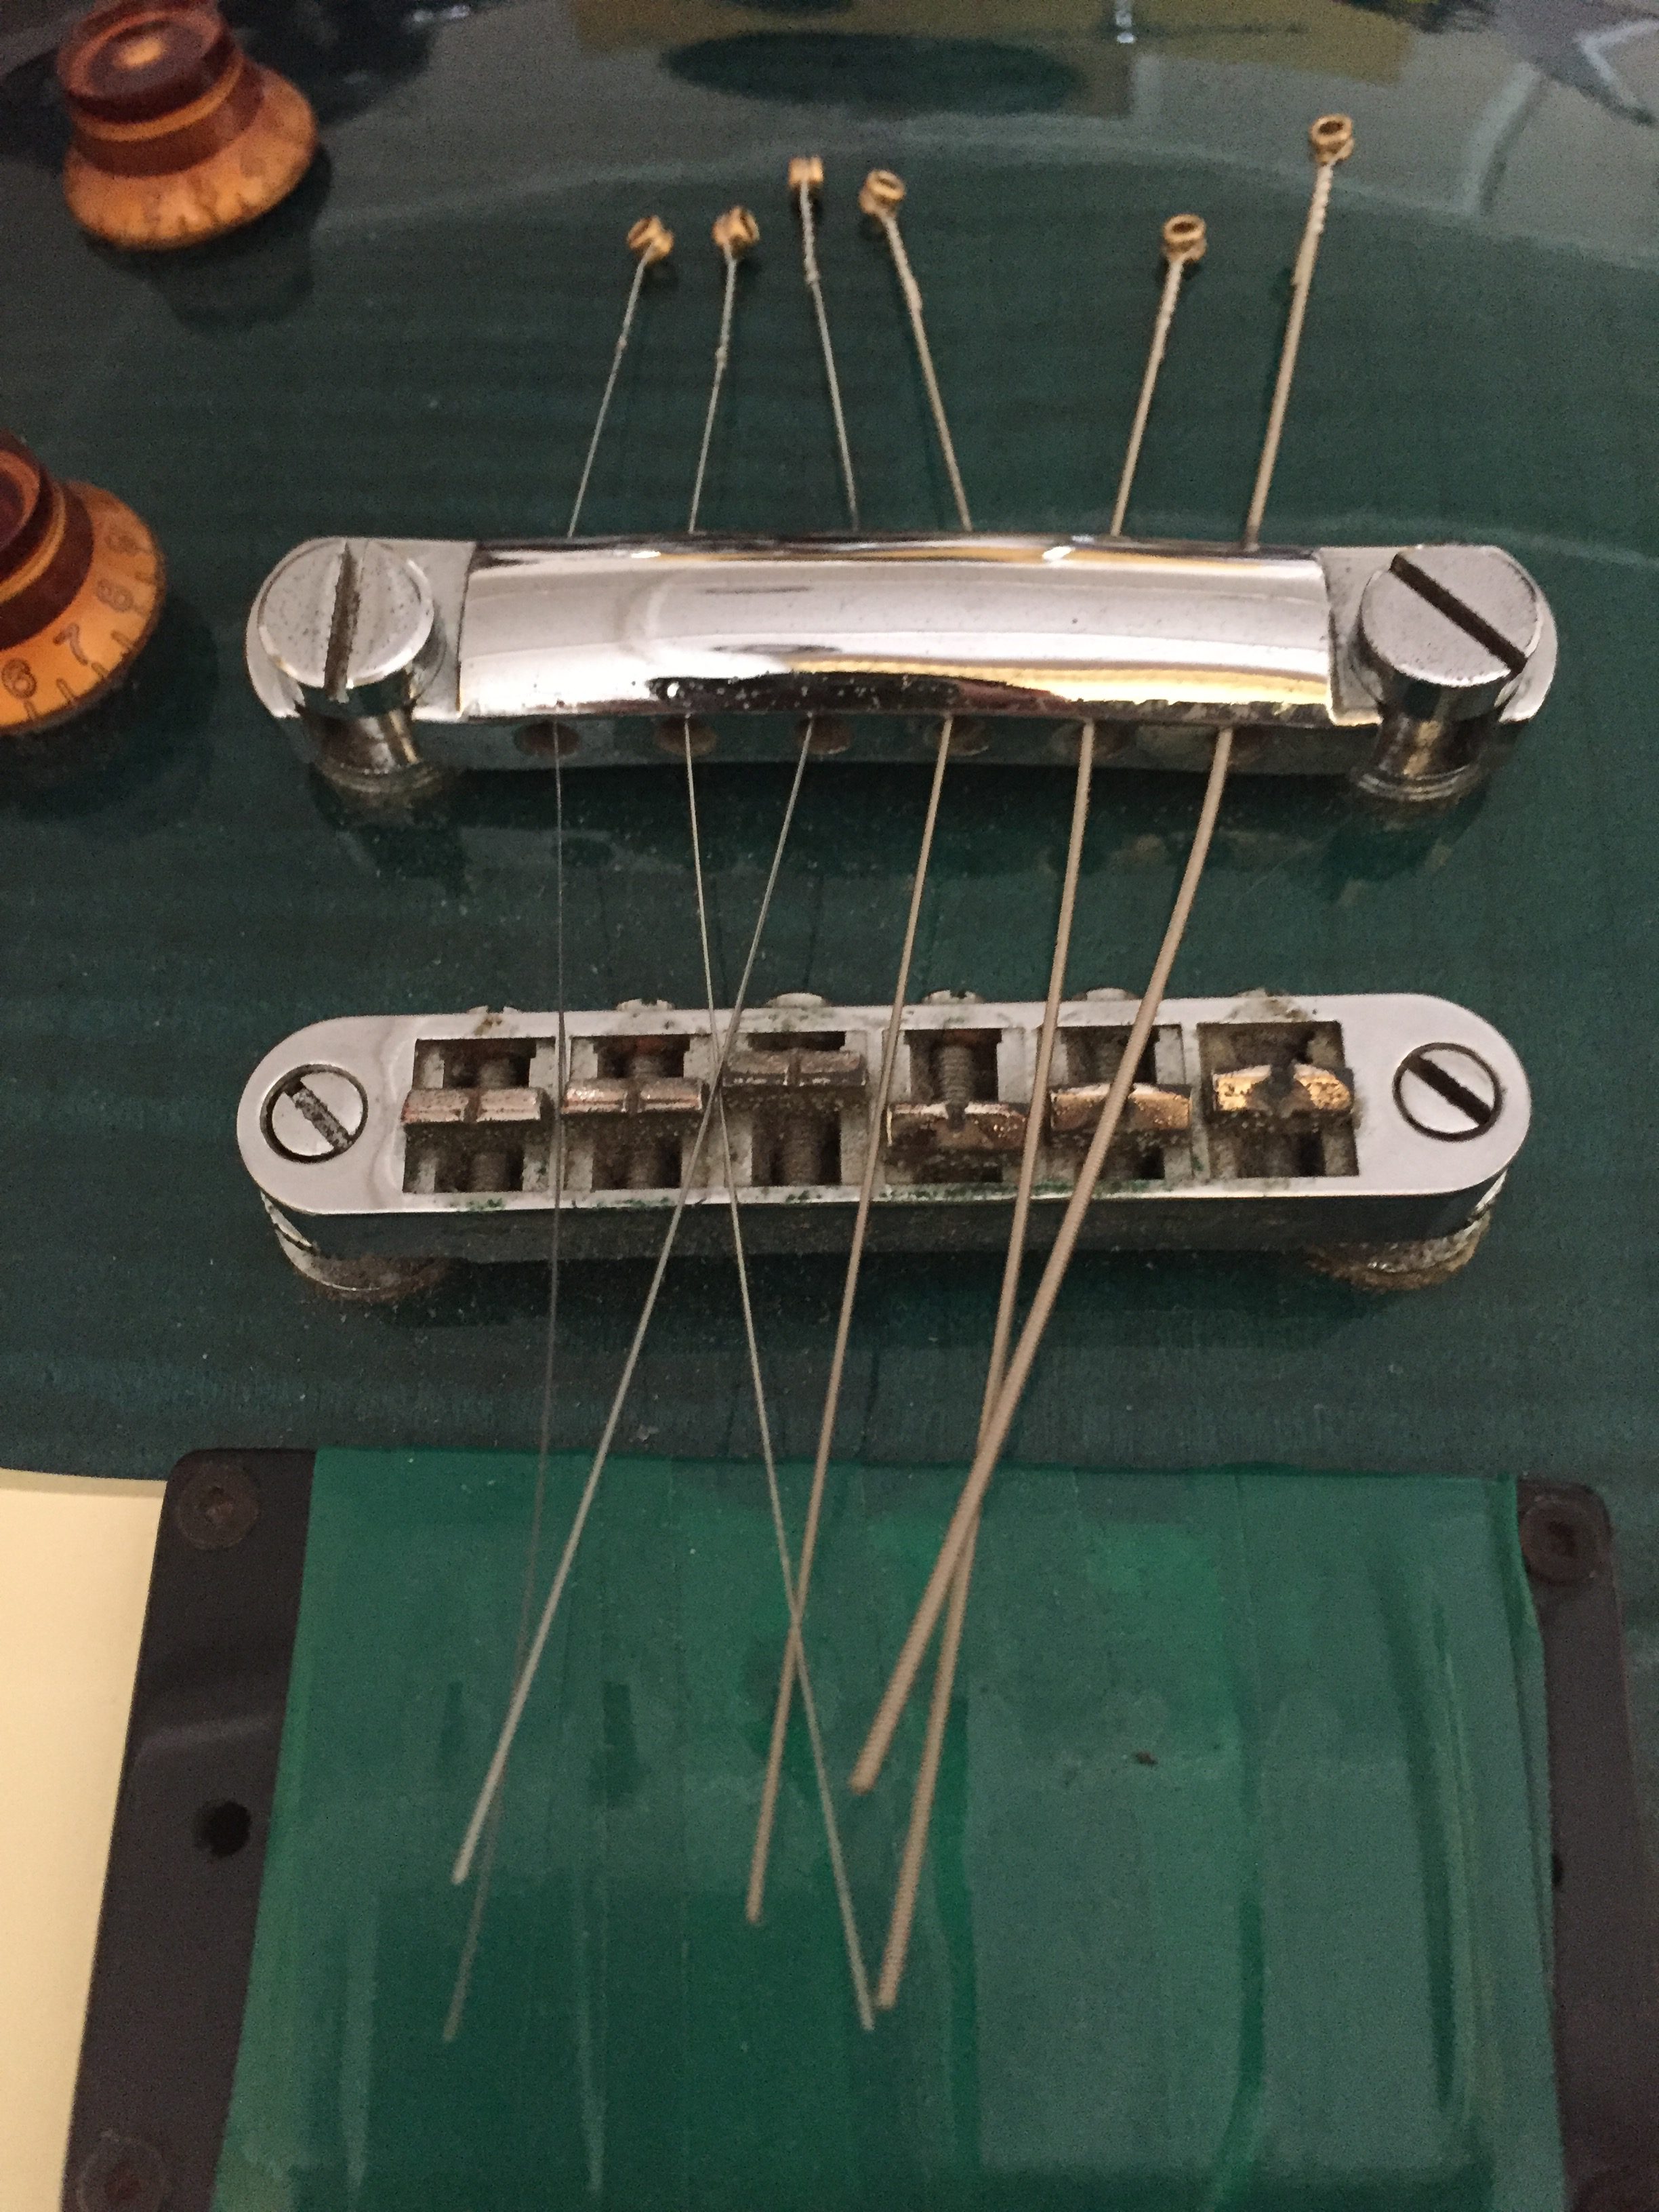
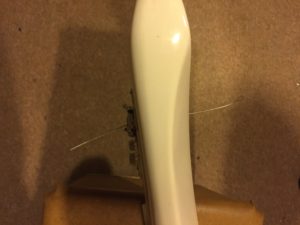
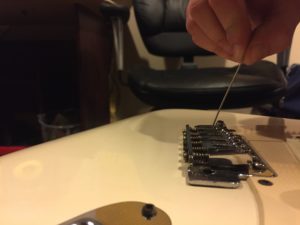
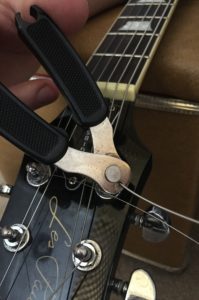
Then with the string cutters, snip each string at the body of the guitar and unwrap them at the tuning post just enough to pull them off the rest of the way.


Remove the ball end of the guitar strings by pulling them out from the bridge end of the guitar.
Step 2: Clean Guitar
This step is optional but, once all of your old guitar strings are removed, this is a great time to take a few seconds to give your guitar a good wipe down and cleaning.
I like to use a cloth or old cut-up cotton shirt and, using circular motions, wipe the entire body, fretboard and headstock.
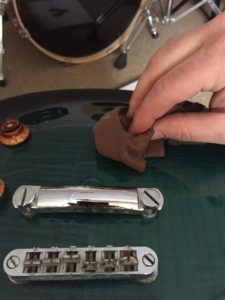
Be sure to use a little elbow grease and scrub away any grime or dirt that has built up, checking closely around the frets on the fretboard.
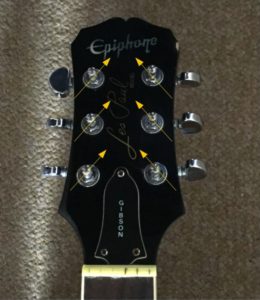
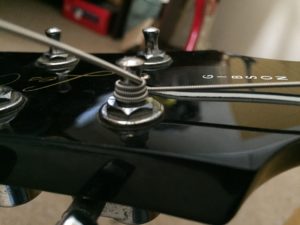
Step 3: Align Tuning Posts
Next, align the tuning posts so the holes in the posts are at a 45 degree angle with the nut.
Refer to the diagrams below to see how to position the tuning posts for guitars with different headstocks.

Step 4: Thread New Guitar Strings
After your guitar is cleaned up and your tuning posts are properly aligned, it’s time to install the new guitar strings.
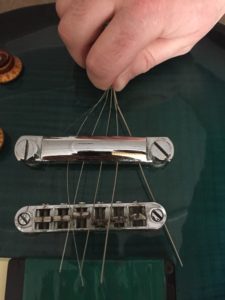
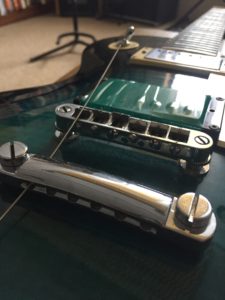
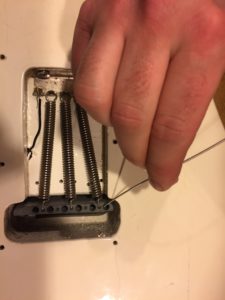
Thread the new guitar strings through the tail-piece, or through the body depending on which type of guitar you are re-stringing, and pull the strings over the bridge up toward the headstock.
Step 5: Use Three Finger Rule And Kink Guitar Strings
Pull the string so there is enough tension on it that it’s not flopping around.
Use three fingers on the hand opposite of which you are holding the string to measure the distance past the tuning post and kink the string at this point.

The three finger distance is a good rough estimate for how much slack to leave for winding the string around the tuning post.
Step 6: Kink Guitar Strings Around Tuning Post
Next thread the string through the tuning post from the top side and kink the string at the opposite end of the hole so that you end up with a zig zag pattern in the string.

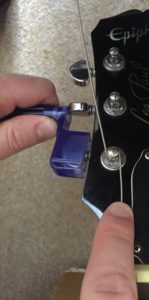
Step 7: Wind The Guitar Strings
Hold down the string just below the tuning post with your index finger to ensure that the strings wind around the tuning post into neat tight coils.
Ensure that the string is seated in the appropriate nut slot and saddle and place the string winder on to the tuning key and crank it until the string has enough tension to stay in place and not flop around on the fretboard.
Snip the excess string,if you so choose, to leave just a small nub poking out of the tuning head.
Step 8: Tune
After all the strings have been roughly installed on the guitar it is now time to do our first round of tuning.
Using a tuner, bring each string up to the appropriate pitch.

Step 9: Stretch
After each string is tuned up, we now have to stretch the strings to prevent drastic tuning issues from future natural stretching.
Hold down the first fret with either a finger or capo to prevent any extra tension on the tuning post and pull the strings up one at a time at the 5th, 7th, and 12th frets on each string.


Step 10: Tune
After you have successfully stretched each string they should have dropped in pitch and will need to be retuned back up to the appropriate pitch.

Final Thoughts
Below is a quick video demonstration on how to change a single string on your guitar.
At first it may be frustrating to restring your guitar but by following these steps and with a bit of practice you’ll be replacing and installing new guitar strings like a pro in no time.
Now that you’ve finished replacing your guitar strings spend some time playing and enjoying the sound of a freshly restrung guitar.

No Comments